Here are the first steps you need to follow to get your Hilo up and running:
Please acknowledge the Contraindications and read the User Manual
Step 1: Charge the cuff and the band
![]() Warning! remove the plastic film from the sensor; this is not always visible at first sight.
Warning! remove the plastic film from the sensor; this is not always visible at first sight.

During the charging of the bracelet, the charger slowly glows red. Once charged, the red light is constant.
While charging the cuff, the LED will be blinking green, and once charged, steady green. Please don't forget to switch on the cuff for charging.
While the devices are charging, you can download and install the app.
Step 2: Download and install the app
Download the free Hilo App from the official store (Android, iOS).
Check the compatibility: What devices and operating systems are compatible with the Hilo App?
The Hilo App is available exclusively through the Apple Store and Google Play, provided the user is registered in an authorized country. What countries do you ship to?
Step 3: Complete the Sign-Up Process & Create Your Personal Hilo Account
- Open the Hilo app and select “Get started.” If you already have an account, please click “I have an account already” at the bottom of the screen.
 |
You can now create an account using your email address, or by signing in with your Google or Apple account, depending on your phone.
Confirm that you understand Hilo Band is not a diagnostic device and accept the Terms of Service and Privacy Policy by checking the required boxes.

Simply choose your country from the list and fill in your personal details like your name, email, and create a password. You'll also be asked for a few more details, such as your date of birth, gender, weight, and height. Hilo needs this information to tailor the blood pressure monitoring experience. Providing accurate data helps to ensure that your readings are personalized and accurate.
 |  |  |
If you used your email in the registration process, check your email inbox for a message from Hilo. Inside the email, click on “VERIFY YOUR EMAIL”. Once your email is verified, head back to the app to complete your setup. If you don’t see the email, you can always use the "Resend email" option.
Please note, if you don’t verify your email within 24 hours, you will need to start the process again from the beginning.
 |  |  |
If you did not receive the Verification email, please follow these steps:
Check your spam inbox or your spam filters
Repeat the registration process making sure you input the correct email address
Once your email has been verified, you can proceed to the next step shown in the Hilo app to pair your cuff and bracelet, by clicking “Take my first reading”.

Step 4: Pair your cuff and your bracelet
Warning! Please do not attempt to connect your Hilo devices from the Bluetooth list on your phone, as this will cause the pairing to fail. Instead, follow the instructions displayed on the Hilo App.
 |  |
The Hilo app never gathers or uses location information. However, due to the design of the Android operating system, the Hilo app requires location access permission to perform a Bluetooth scan, which is necessary to pair your Hilo Band and Cuff. This is because a Bluetooth scan can potentially gather location-related information from the user’s own devices and Bluetooth beacons in places such as shops and transit facilities. Android's request for location access permission is intended to make users aware of this possibility.
For iOS devices, granting location access is not necessary.
You can press "CONTINUE" to start the pairing process. To pair your Hilo Band, please place it on the charger and ensure the red LED is either glowing or steady.
 |  |
Press "CONTINUE" to pair the cuff.
Warning! The cuff should not be charging during the pairing process, as this will cause the pairing to fail.
Switch on the cuff; a blinking blue light should appear on the device.
The app will guide you through the process.
Tap "CONTINUE" and then "START PAIRING".
If the pairing is successful, you will receive a message in the app: "Great! Your Hilo cuff is paired."
The blue light on the cuff will then stop blinking and become steady blue.

Press "CONTINUE" to perform the calibration.
In the app, under "Measure" screen, you should see that both the bracelet and the cuff are paired.
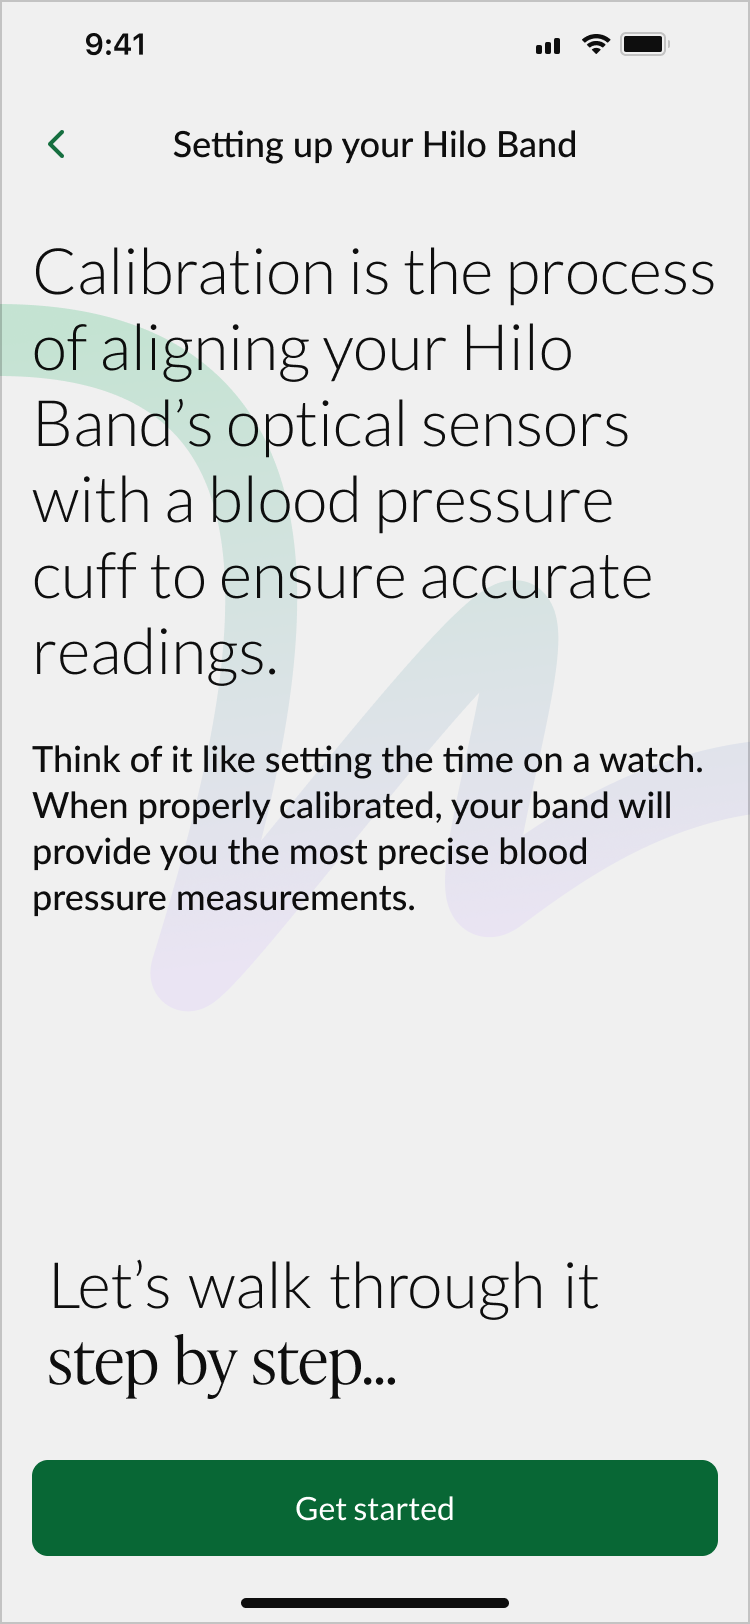
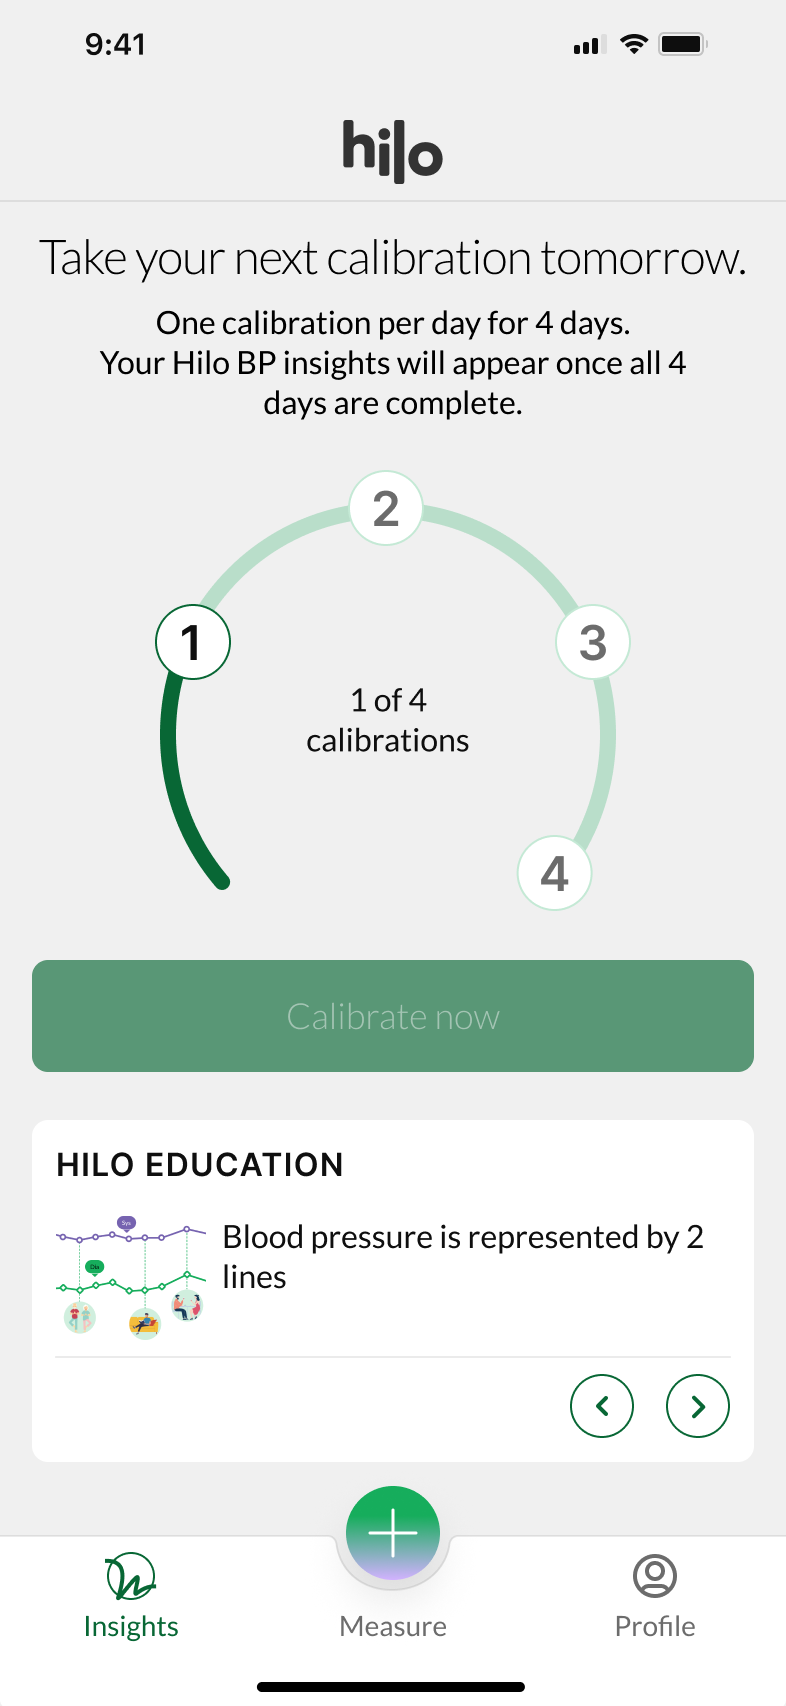
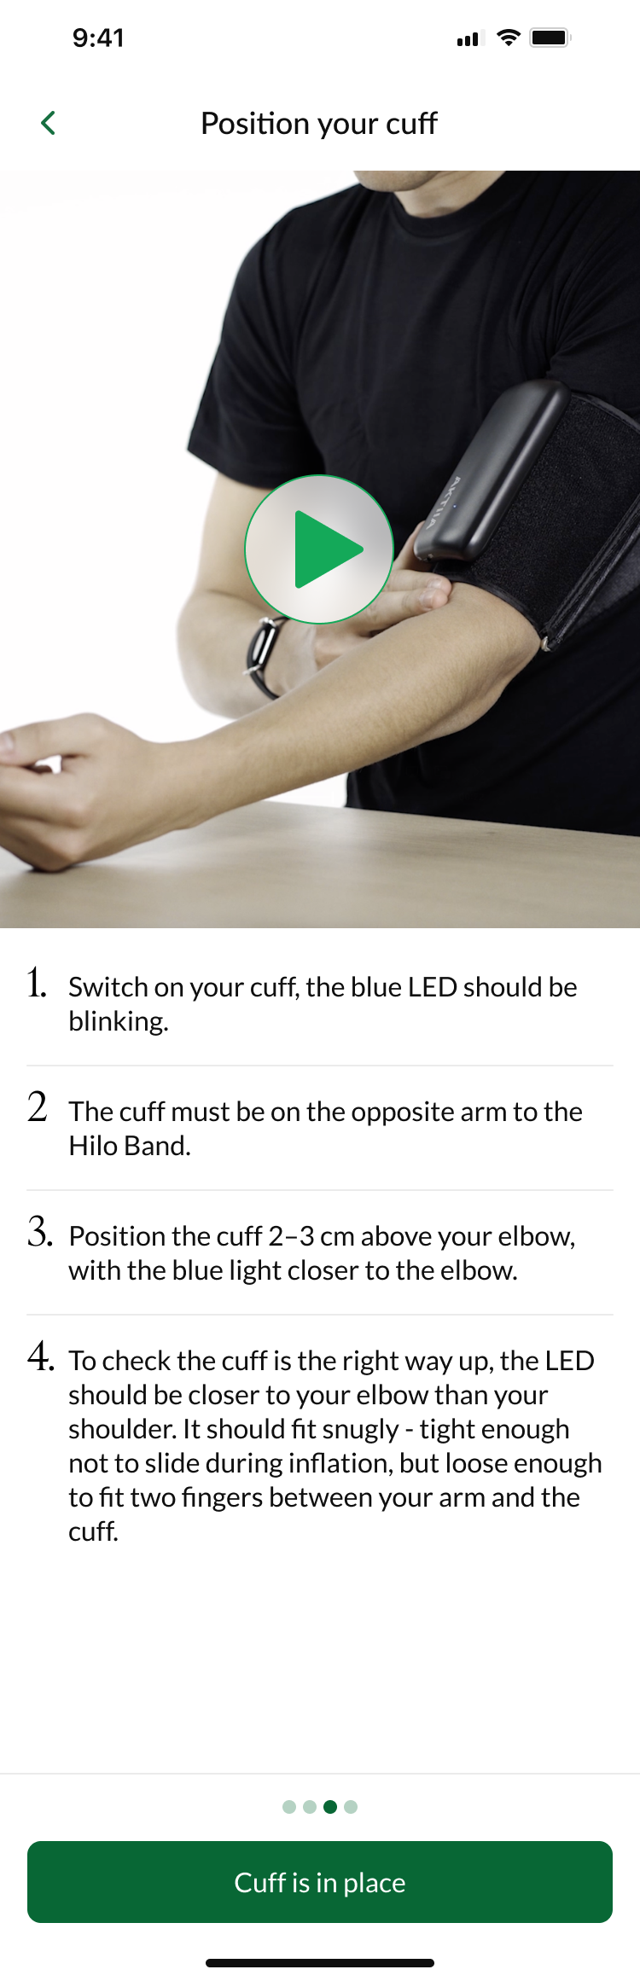
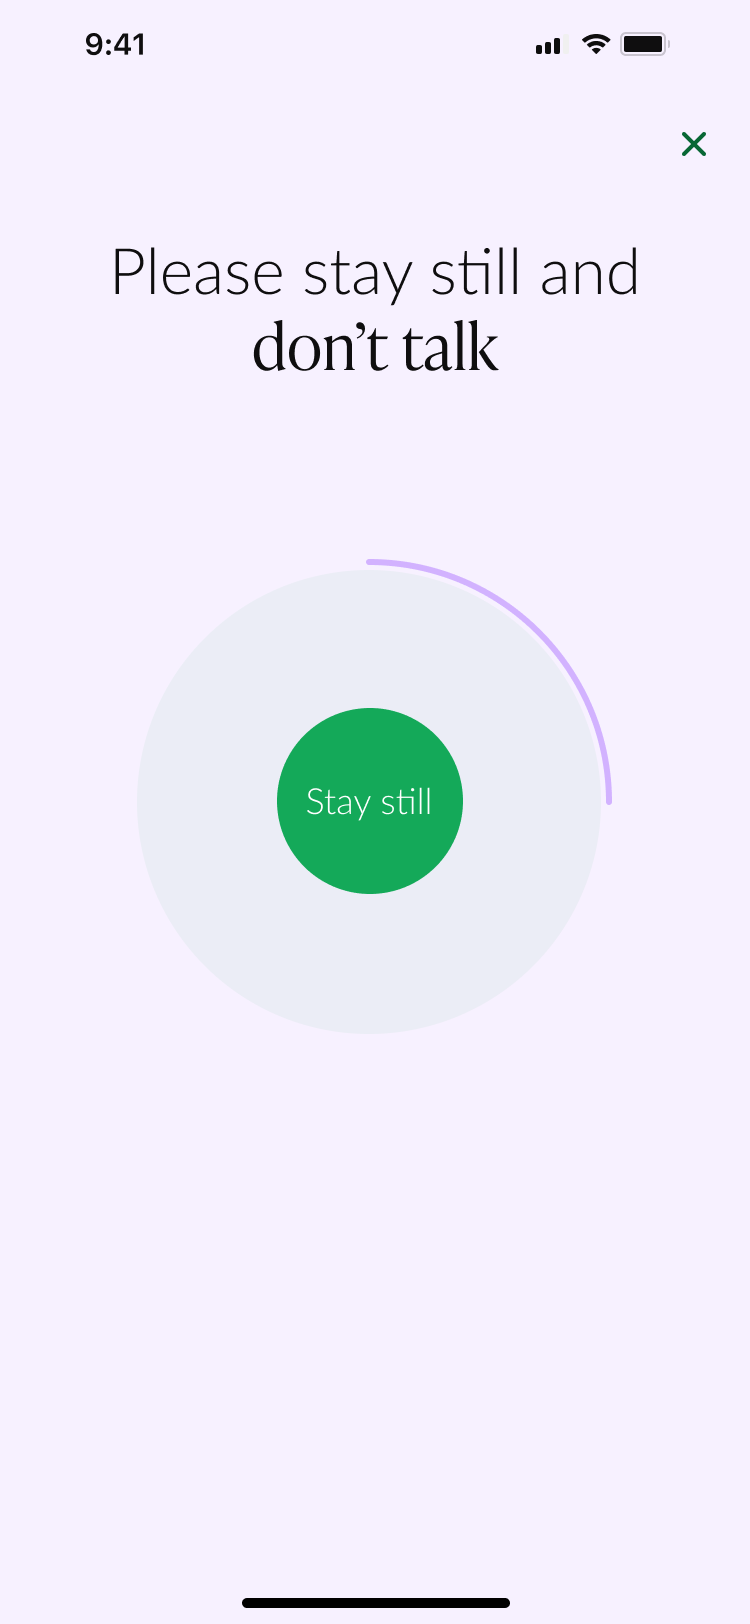
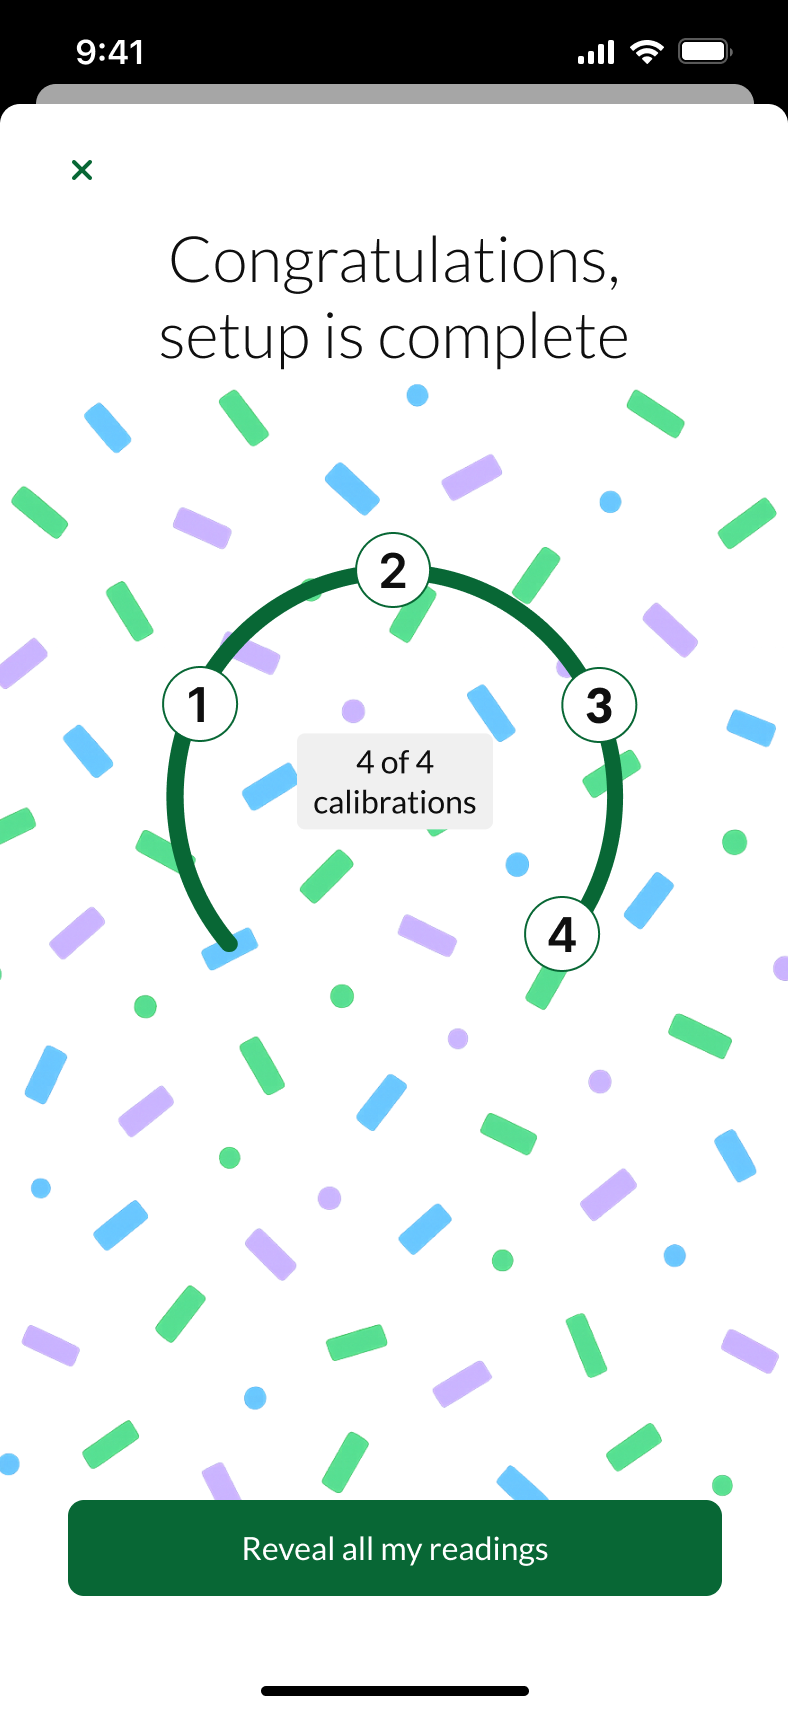
Step 5: Calibration
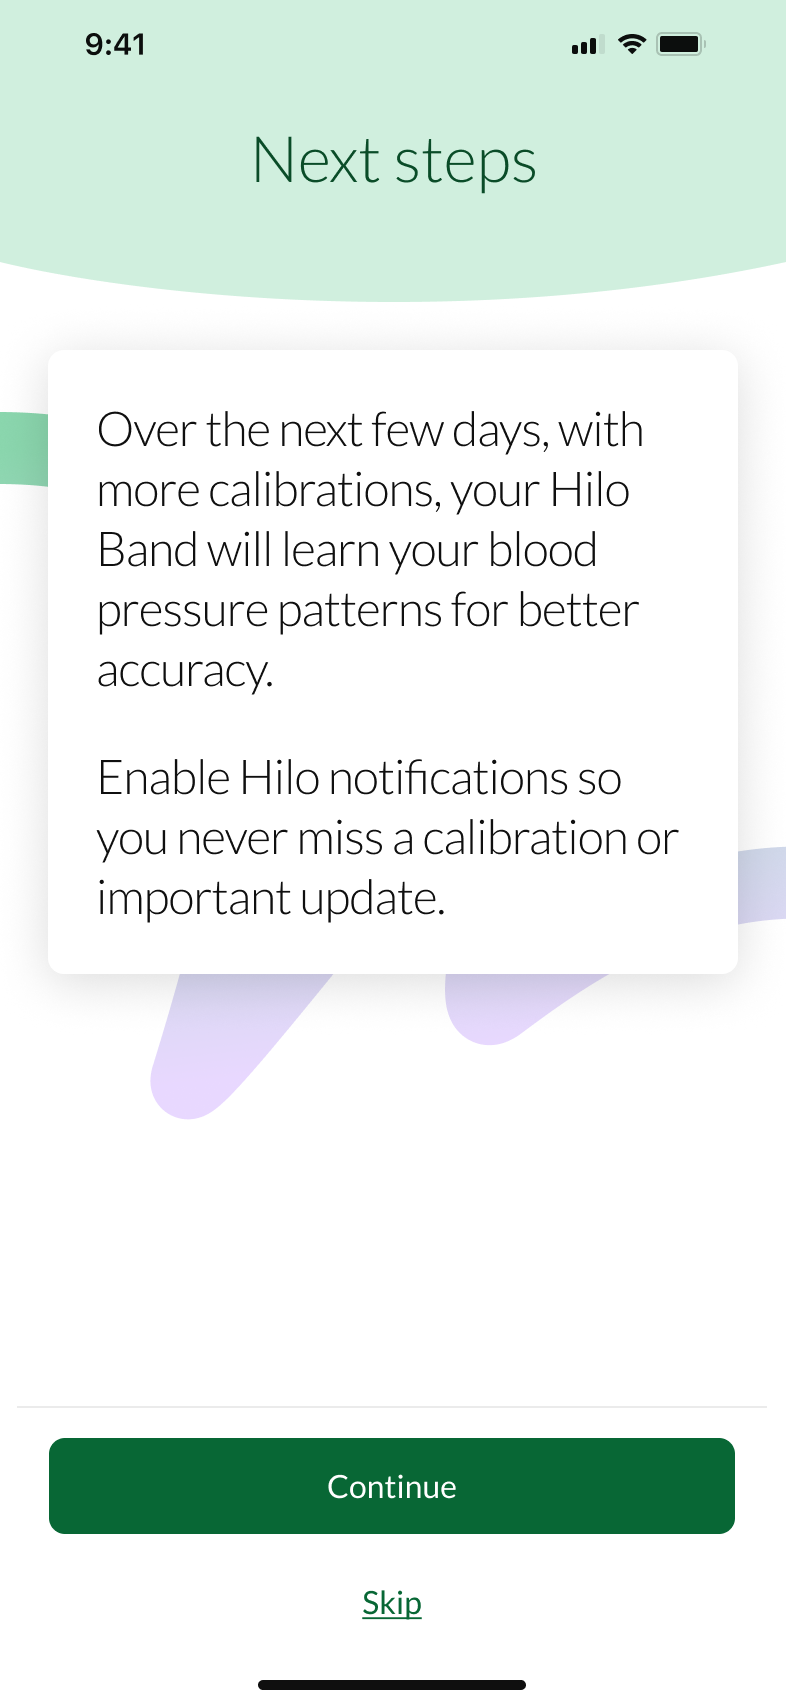
Calibration is mandatory and cannot be skipped. You must complete 4 successful calibrations on 4 different days (one per day). The Hilo App will not display blood pressure data until all four required calibrations have been successfully completed. However, the Hilo Band must be worn continuously starting from the first calibration. Even though results will not be shown during this period, the band will still record data in the background to help build your personal profile.
The app will guide you through each calibration. Please follow the Calibration Guide carefully to avoid unsuccessful attempts.
Following features will become available only after the 4 calibrations are completed successfully.
Individual cuff on demand measurements are NOT available during the first calibration period.
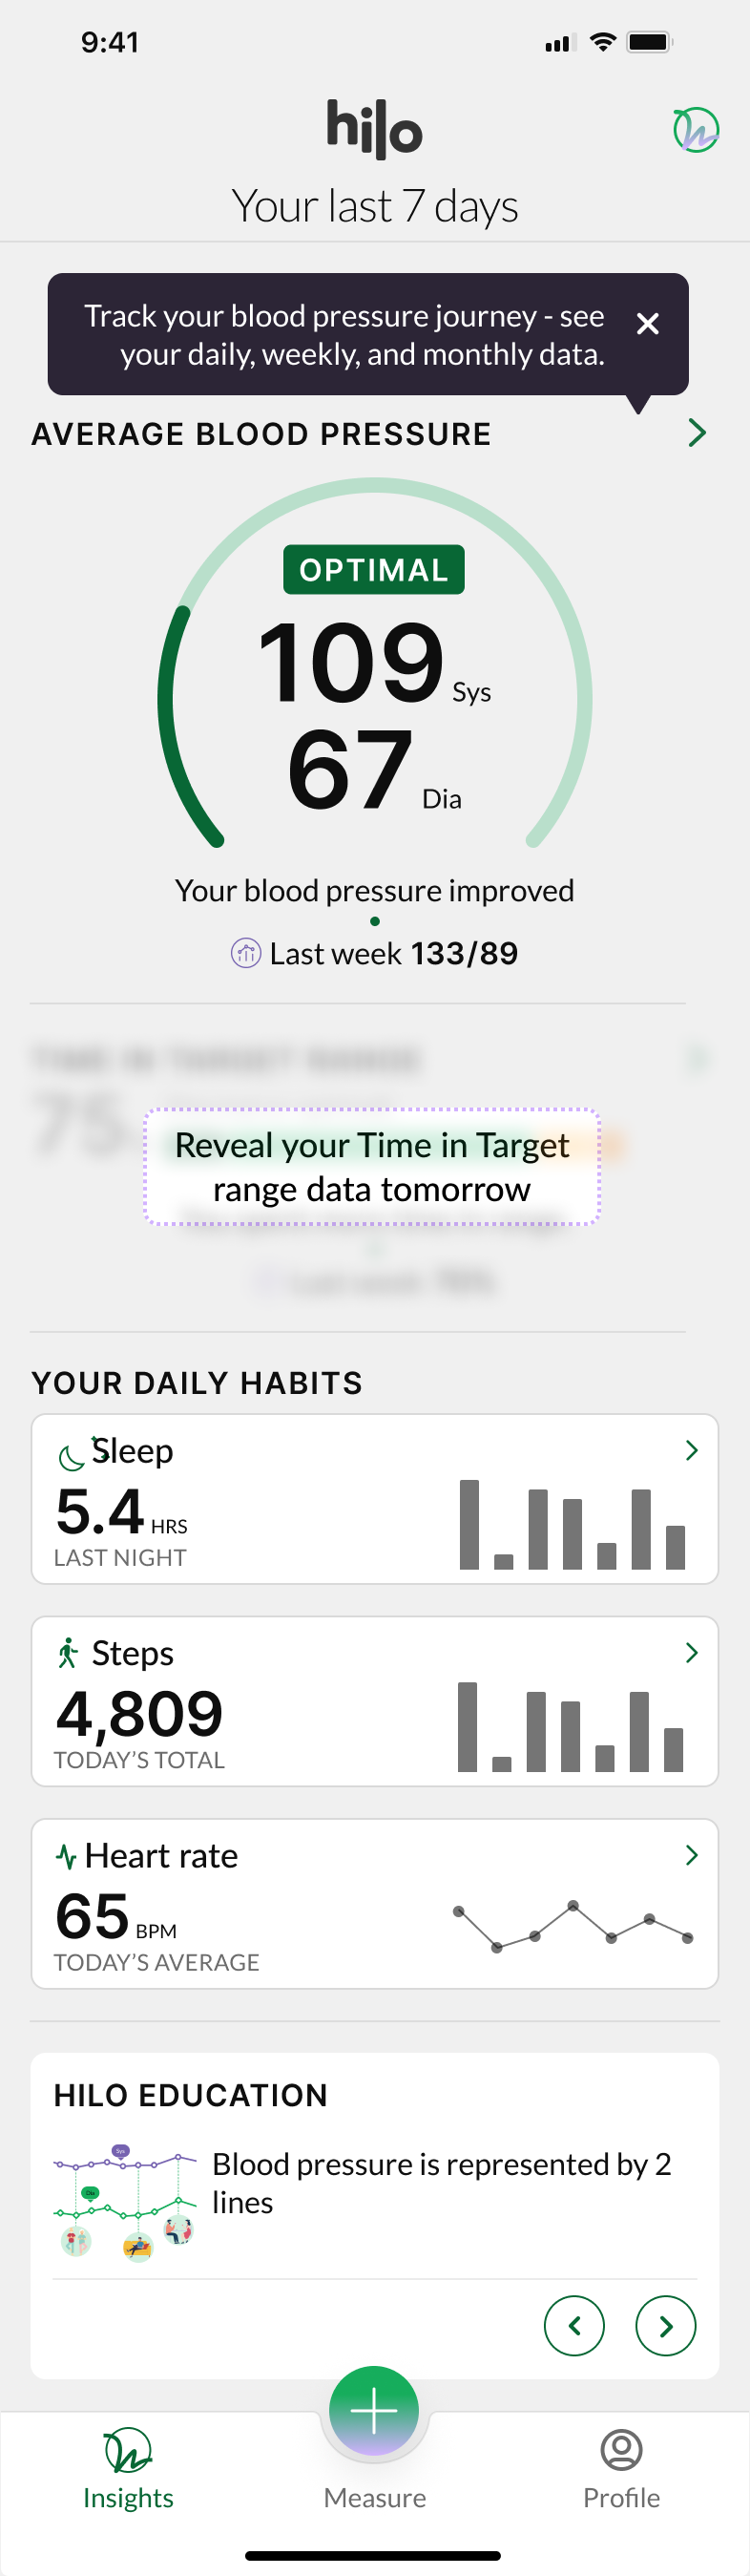
Blood pressure reports will only display data starting from day 8 and only if the 4 calibrations were successfully completed.
The Hilo Phone Measurement feature (camera-based blood pressure measurement)
 |  |  |  |
 |  |  |  |
Step 6: Store your cuff
Now you can store your cuff for the next 30 days, until the app requires you to perform another calibration and wear your bracelet day and night to monitor your Blood pressure.
Was this article helpful?
That’s Great!
Thank you for your feedback
Sorry! We couldn't be helpful
Thank you for your feedback
Feedback sent
We appreciate your effort and will try to fix the article